A Practical Guide to Restoring Wooden Floors
Bring tired wood flooring back to life with expert restoration tips and techniques

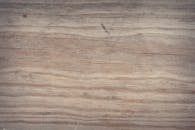
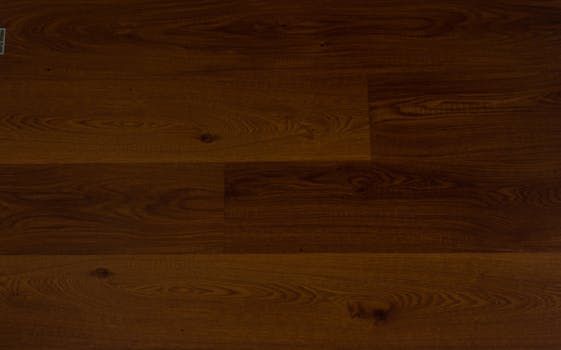
Wooden floors add timeless appeal to any space, but over time they can begin to show signs of wear. Scratches, dull finishes and surface damage are common in both domestic and commercial settings. Fortunately, restoring wooden floors is a straightforward process with the right knowledge and preparation.
Whether you are managing a heritage building or upgrading the floors in a busy retail space, a well-executed restoration can enhance both the appearance and longevity of your flooring. This guide covers the essential steps and best practices for restoring wooden floors to their former beauty.
Why Restore Wooden Flooring?
Restoration offers several advantages compared to complete replacement. It is often more cost effective, less disruptive and better for the environment. Properly restored floors can last for decades, provided they are maintained correctly.
Wooden floor restoration also allows you to:
- Preserve the character of original timber
- Address damage without removing the entire surface
- Apply a fresh finish tailored to your interior design goals
Whether you are dealing with deep marks, fading or general wear, a full restoration can make a dramatic difference.
1. Assess the Condition of the Floor
Before beginning any work, inspect the floor carefully to determine the type and extent of damage. Look for:
- Surface scratches and scuff marks
- Water stains or discolouration
- Warping or movement between boards
- Old finishes that are peeling or worn
If the boards are significantly warped or damp, repairs may be needed before sanding. In older buildings, always check for structural issues such as loose boards or subfloor problems.
2. Prepare the Area
Clear the space entirely and remove any obstacles that could interfere with the restoration process. Ventilate the room well and cover nearby surfaces with protective sheeting to minimise dust spread.
Ensure that nails or screws are properly countersunk so they do not damage sanding equipment. Gaps between floorboards can be filled if necessary, using either slivers of wood or flexible wood filler designed for floorboards.
3. Sanding the Surface
Sanding is the most important step in restoring wooden floors. It removes old finishes, evens out surface imperfections and prepares the timber for treatment.
Begin with a coarse sandpaper to remove damage, then gradually move to finer grades to achieve a smooth and clean finish. Edge sanders may be required for areas near skirting or corners.
Important tips:
- Always sand in the direction of the grain
- Keep the sander moving to avoid uneven patches
- Vacuum and wipe down between sanding stages
Once sanding is complete, the floor should feel even and smooth underfoot with no visible residue or old coatings remaining.
4. Choosing the Right Finish
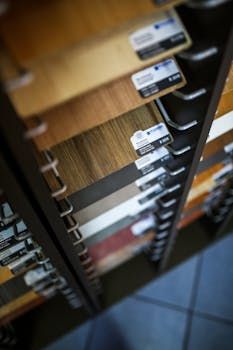
After sanding, the floor is ready for treatment. Choosing the correct wood floor finish depends on the intended use of the space, the desired appearance and the level of maintenance required.
Common options include:
- Hardwax oils for a natural matte appearance and excellent durability
- Lacquers or varnishes for high traffic areas needing stronger protection
- Stains and tints to alter or enhance the wood tone before applying a topcoat
Each finish has its own drying times and care requirements. Follow the product instructions closely to ensure the best results. Where possible, test the chosen finish on a small, inconspicuous area first.
Allow for Curing and Ventilation
Once the finish is applied, allow the floor adequate time to cure before placing furniture or walking on it. This can vary from a few hours to several days depending on the product used and environmental conditions.
Ensure the area remains well ventilated during this time to speed up drying and avoid trapping odours or moisture.
Maintain the Restored Floor
To extend the life of your restored floor, regular maintenance is essential. Avoid harsh chemicals and use cleaners specifically designed for wooden flooring.
Protect high traffic zones with rugs or runners and place pads under furniture legs to prevent scratches. Humidity control is also important as excess moisture can damage wooden surfaces over time.
Regular inspections and touch ups will keep the floor looking its best and delay the need for future sanding.
Final Thoughts
Restoring wooden floors is a practical way to improve the look and performance of your interior without the cost or waste of full replacement. With proper planning and execution, even heavily worn floors can be revived.
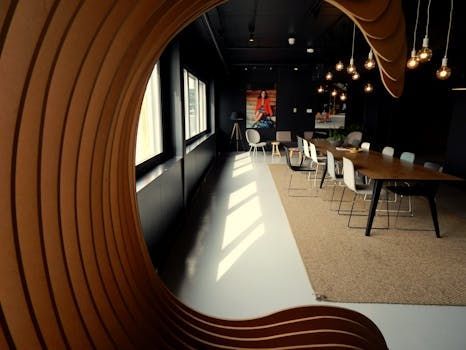
From careful sanding to choosing the right finish and maintaining the result, every step in the process contributes to a lasting transformation. Whether in commercial environments or residential spaces, a professionally restored wood floor adds both visual appeal and long term value.